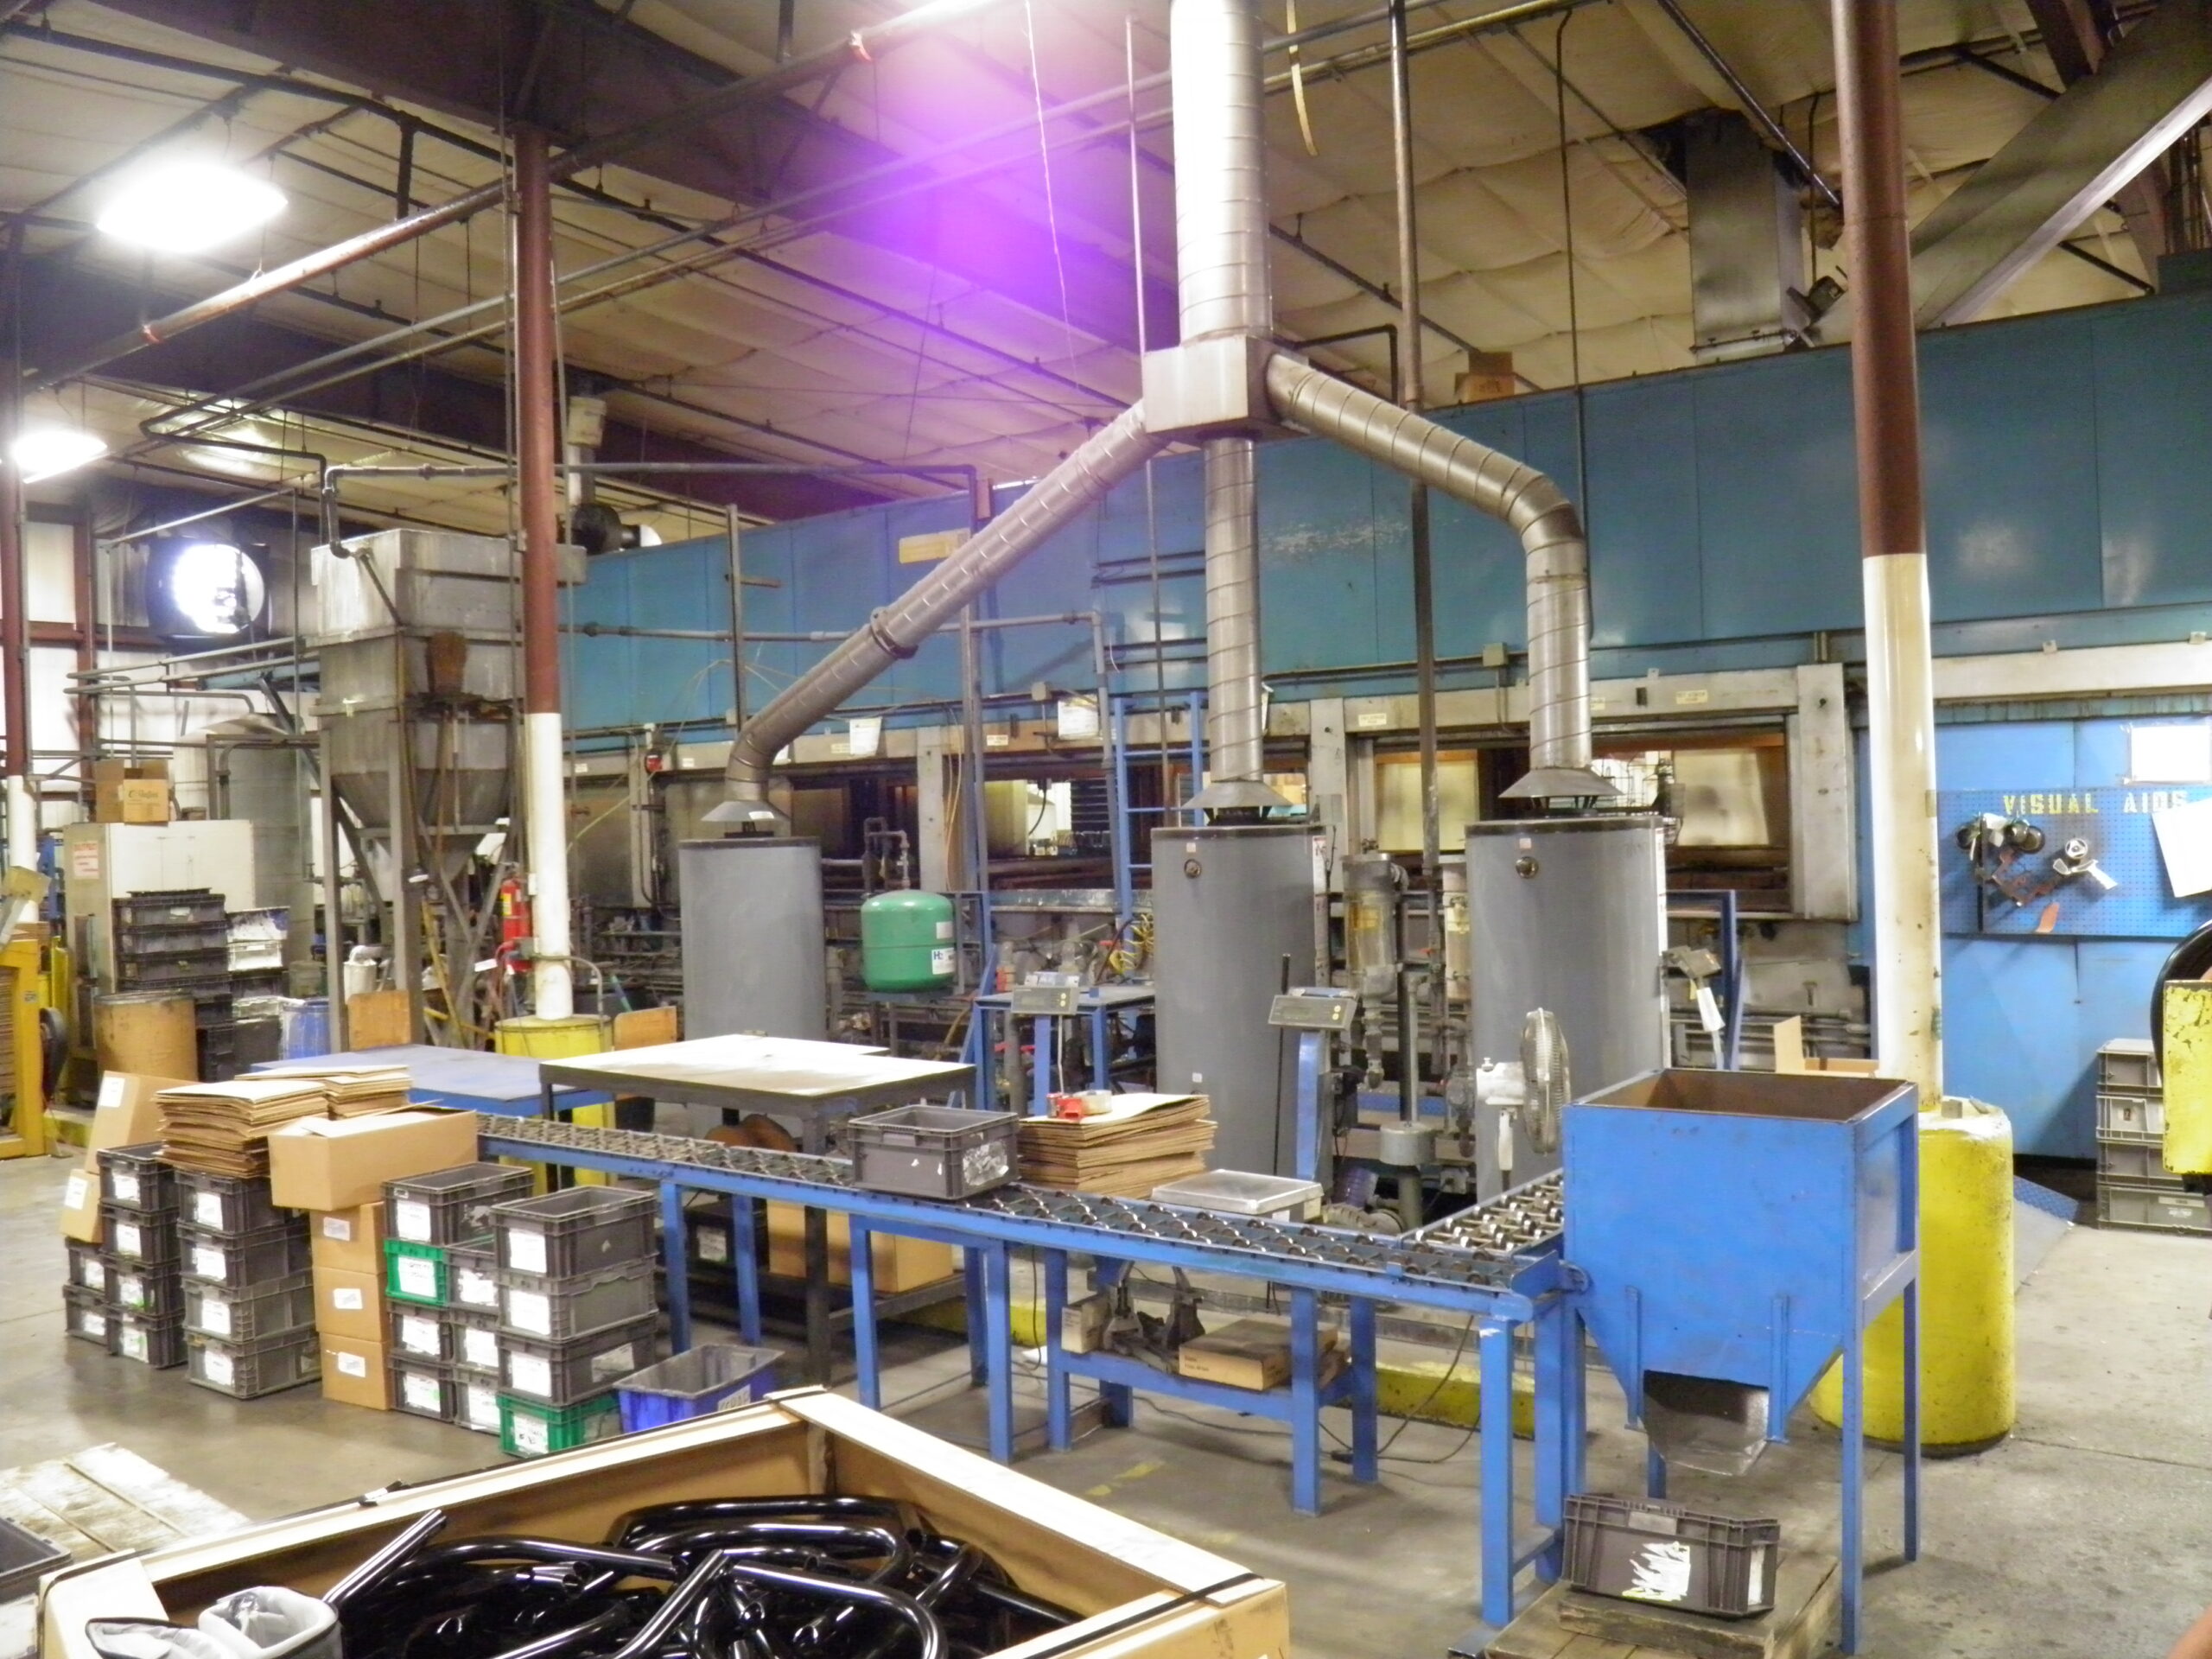
As part of our commitment to be a valued partner supplier to our customers, Bopp Busch offers e-coating services. E-coating gives parts with a greater corrosion resistance and a more uniform coat.
In this article, we discuss e-coat steps to provide a better understanding of the process.
Step One: Clean & Pre-Treat
First and foremost, the parts need to be thoroughly cleaned before beginning the e-coating process. This step is necessary to remove any oil, grease or other contaminants from the part to be e-coated. The pre-treatment stage assures proper adhesion of the e-coating.
Step Two: E-coat Bath
With cleansing and pre-treatment completed, the parts are ready for the immersion stage. E-coating is such an effective coating technique because the part is totally immersed inside and out. During the bath stage, a DC electric current agitates the solution causing the coating to adhere to the parts.
Step Three: Rinse
When the required coating thickness is achieved, the part is moved to the rinsing step. In this stage, the parts are rinsed to remove any stray paint solids (aka the cream coat) clinging to the surface of the parts. If the cream coat is not removed, the appearance of the coating will suffer. The excess solids from the cream coat are recovered and returned to the e-coat tank.
Step Four: Bake
The best baking time and temperature is based on the part size, composition and paint chemistry. Today’s ovens come with multi-stage curing processes to reduce water-spotting and improve film flow for a better finished product.
Since 1948, Bopp Busch has continued to expand our services to be the best partner supplier for our customers. Our e-coating enhance core stamping services, along with our toolmaking, general assembly, and design services. To learn more about Bopp Busch and our capabilities, contact us today.


